
This guide will take you through Loxly's website builder and how you can use it to create a website for your new book, quickly and for free.
1. Register your account
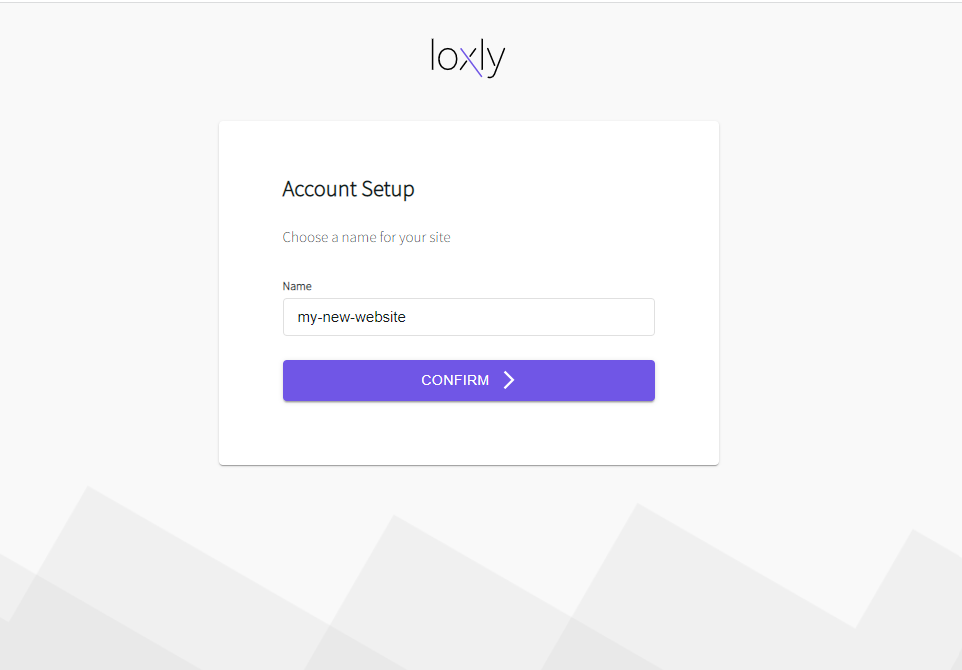
If you haven't already, register your account by visiting loxly.io/account/register and give your website a name. This will be the url of your site so choose something related to the way you present yourself online, your Instagram handle for example.
Once you have set up your account go to the site builder dashboard and take a look around.
2. Add A Header
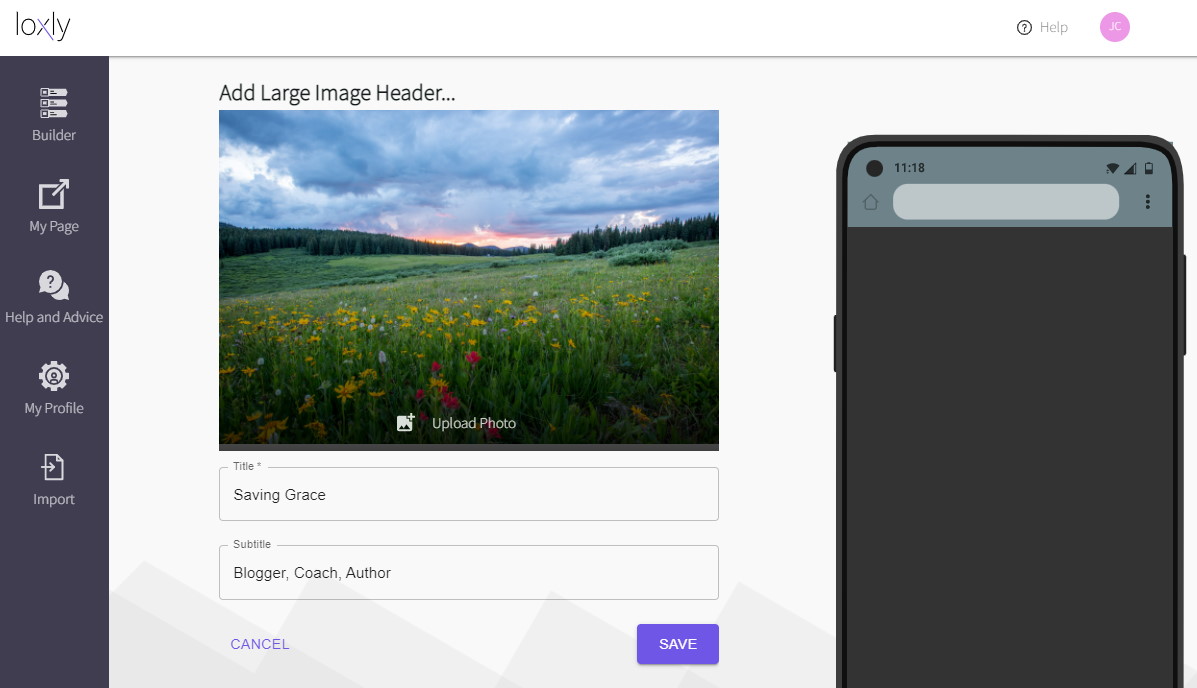
The header is the first thing your website visitors will see, so make it pop with a large image that fits the theme of your book. We are using this image of a meadow from free stock image website Unsplash, but you can use any image you like as long as it is in landscape format (wider than it is high)
To add the image:
- Select Create New to add a new block to your site
- Click the first option: NEW HEADER
- Select LARGE IMAGE HEADER
- Upload your photo and add some text to welcome your visitors
- Click SAVE to add the header to the preview
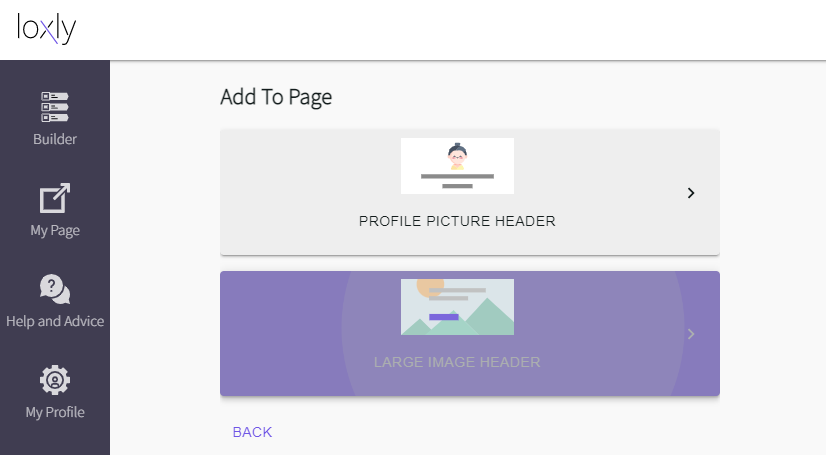
3. Add a Featured Product
A Featured Product is a special type of link on your Loxly website that advertises a product and has a link for your visitors to follow where they can make a purchase. For your book, we are going to select FEATURED PRODUCT then add an image of your book cover. If the FEATURED PRODUCT option is not visible you can click the MORE TYPES button to see all the options
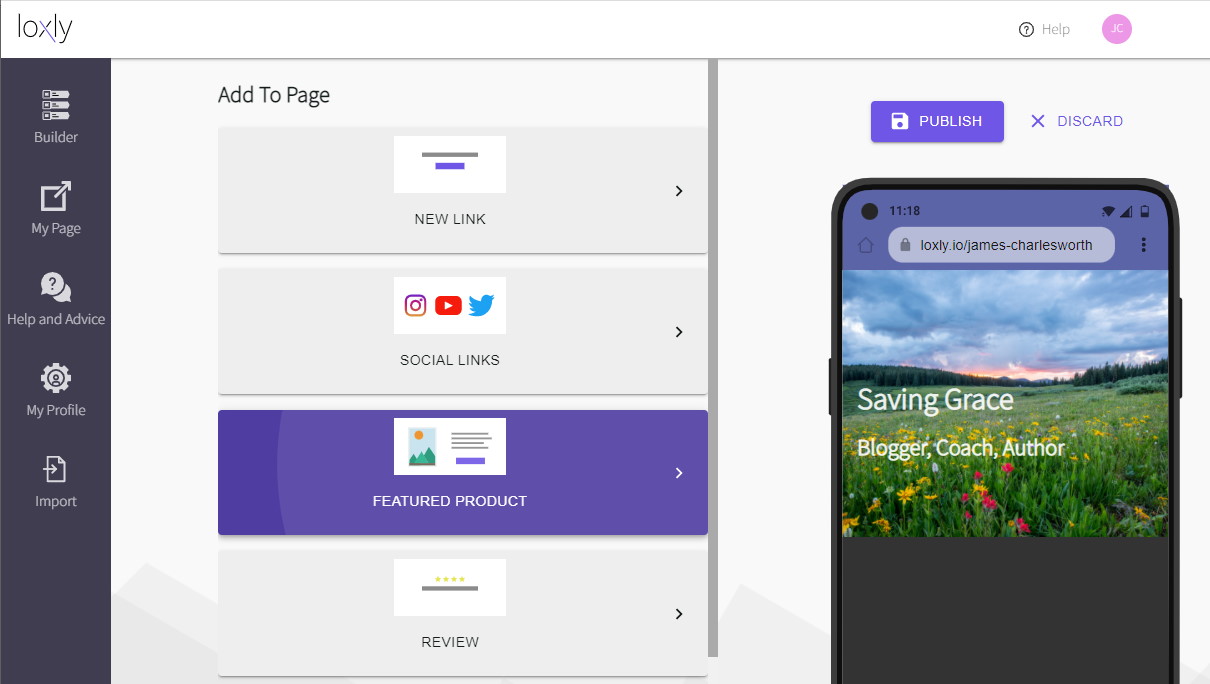
4. Add Your Socials
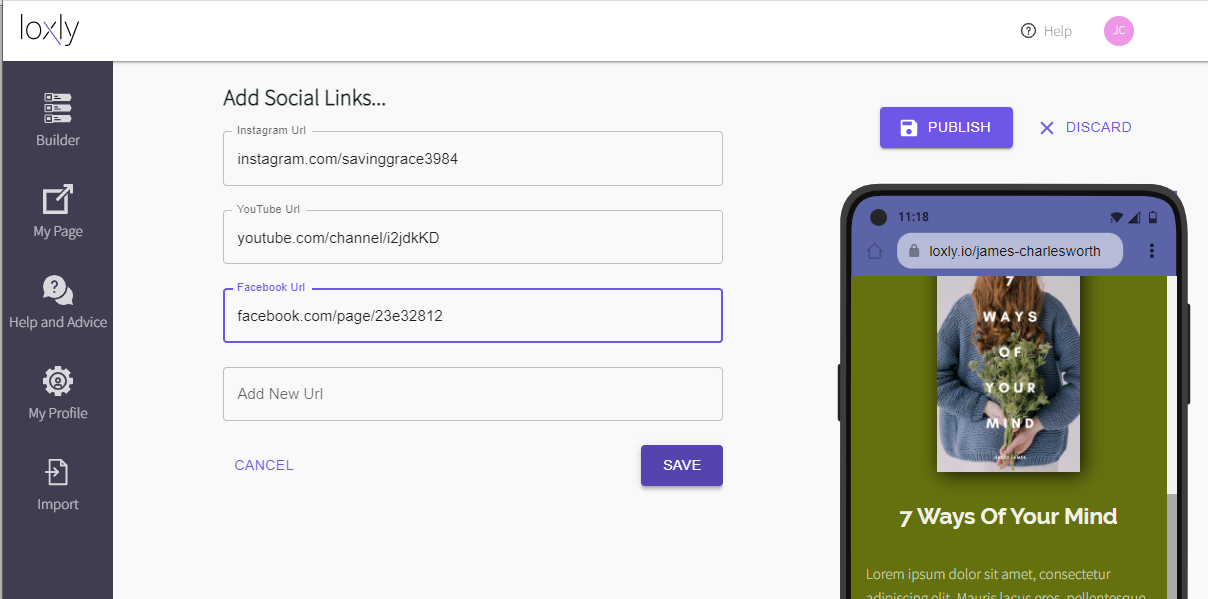
Show your visitors that you are a real person and post links to your social media profiles and channels. This block type is called SOCIAL LINKS and you can paste as many social media urls into these text boxes. Loxly will automatically detect which website your profile is on and add the appropriate icon to your page.
5. Publish Your Site

The final step is to click Publish - then congratulations your site is live! You can find the link to your website on the left hand side under "My Page". If you are on a mobile device this link will be under the app menu in the top left hand corner.
What's Next?
Now you have your website up and running, why not check out our other tips for promoting your book and really get the most your marketing efforts.